


Your first trek doesn’t require months of preparation.
For a reasonably manageable trek, the week before your trip can make a surprising difference. The goal isn’t to suddenly become extremely fit in seven days. Instead, it’s to make sure your body, gear, food, route, and mind are ready for what you’re about to do.
A common beginner mistake is spending the final week doing intense workouts to “get in shape.” That can leave you sore or tired before the trek even begins.
A better approach is simple: prepare, don’t panic.
Here’s a practical seven-day plan for getting ready for your first trek.
Day 7: Understand What You’re Getting Into
Seven days before your trek, don’t start by packing.
Start by understanding the trek itself.
Find out the total distance, expected walking time, elevation gain, terrain, weather conditions, availability of water, and whether there are steep or technically difficult sections.
A 10-kilometre walk on a flat trail is very different from a 10-kilometre mountain trek with significant elevation gain.
Check the weather forecast, but don’t rely on a forecast from a week ago. Weather conditions can change, particularly in mountainous areas.
This is also the day to be honest about your fitness.
If you rarely walk and the trek involves several hours of continuous climbing, don’t assume enthusiasm will compensate for the difference.
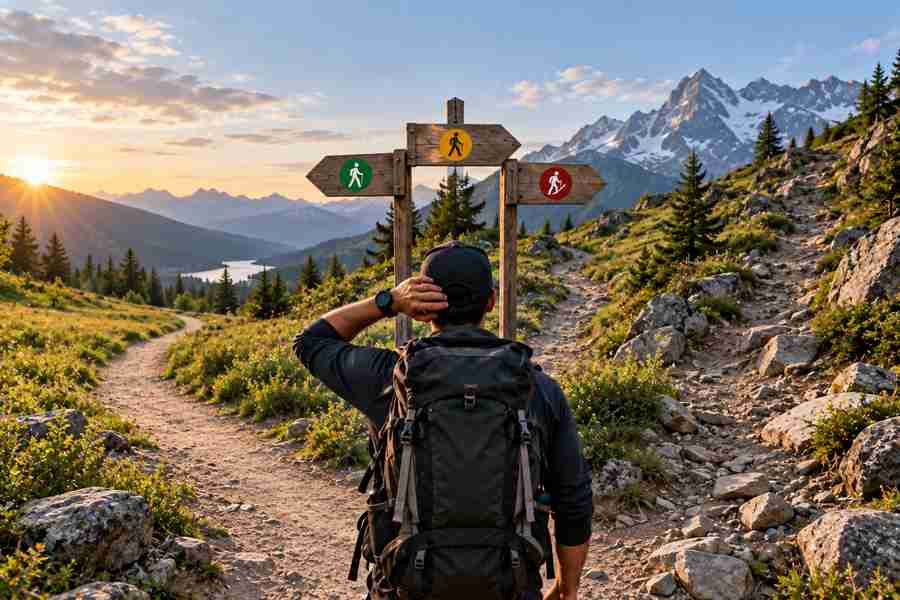
If the route seems beyond your current ability, consider choosing an easier trek rather than discovering the problem halfway up the mountain.
Your Day 7 checklist:
- Check distance and elevation gain
- Understand the terrain
- Check the latest weather forecast
- Find out where water is available
- Check trail rules and requirements
- Tell someone about your trekking plans
- Review the expected start and finish times
Day 6: Test Your Gear
Don’t wait until the night before your trek to discover that your shoes hurt your feet.
Wear your trekking shoes and walk in them for at least an hour. Pay attention to your heels, toes, and the sides of your feet.
If you’re using a new backpack, load it with some of the equipment you’ll actually carry and walk with it.
This is also the perfect time to test your tent if you’re camping.
Set it up once at home.
You should know how the poles connect, where the rainfly goes, how the tent is secured, and how long setup takes.
Check your headlamp, power bank, water bottles, trekking poles, rain gear, and first-aid kit.
The goal is simple: nothing should be unfamiliar when you reach the trail.
Day 5: Do a Longer Walk
This is your most useful training day of the week.
Go for a long walk or hike that is challenging but manageable. If possible, include stairs, hills, or uneven terrain.
Don’t try to prove how fit you are.
The purpose is to understand how your body responds to several hours of movement.
Wear the shoes and socks you’ll use on the trek. Carry at least some of the weight you’ll be carrying on the actual trip.
Pay attention to where discomfort develops.
Do your feet start rubbing?
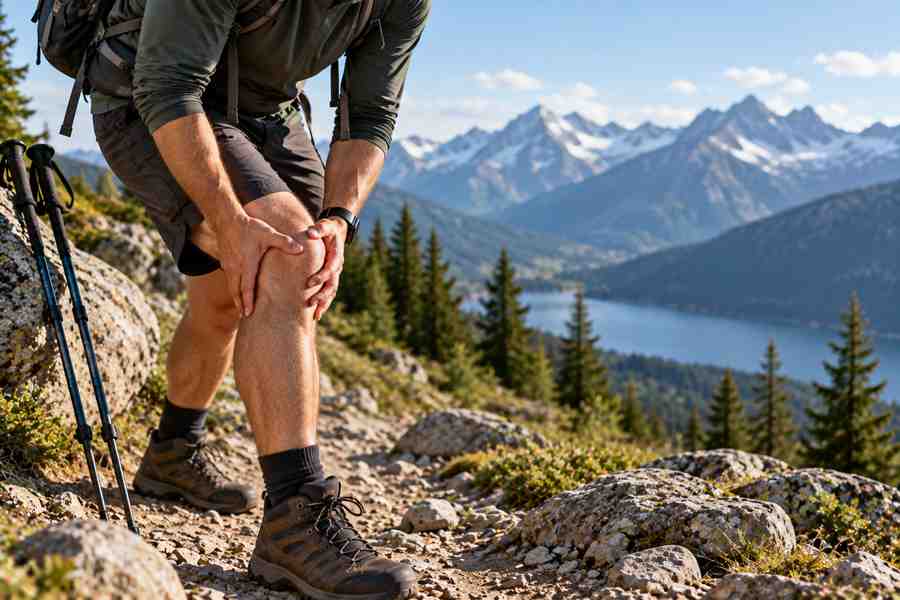
Does your backpack hurt your shoulders?
Are your hips carrying too much pressure?
Do you run out of water?
These are problems you want to discover now, not halfway through your trek.
After the walk, recover properly. Eat a normal meal, drink enough fluids, and get a good night’s sleep.
Day 4: Sort Out Your Food and Water
By now, you should know what you’ll eat and drink during the trek.
Don’t experiment with unusual foods just before or during your trip.
Choose familiar foods that are easy to carry and provide enough energy for the activity. Depending on the trek, practical options can include bananas, nuts, sandwiches, energy bars, dried fruit, or other foods you already tolerate well.
Work out how much water you’ll need based on the route, weather, duration, and availability of reliable refill points.
If you’ll be using natural water sources, find out whether they are considered safe and whether you’ll need a filter or purification method.
Also prepare a few emergency snacks.
You may finish your planned food earlier than expected if the trek takes longer than anticipated.
Day 3: Pack Your Backpack
Three days before the trek is a good time to do a full packing test.
Put everything you’re planning to carry into your backpack.
Then ask yourself:
Do I really need this?
Beginners often pack far too much.
Every extra item adds weight, and you’ll feel that weight much more after several hours of walking.
Keep your frequently used items accessible. Your rain jacket, water, snacks, headlamp, phone, first-aid supplies, and navigation equipment shouldn’t be buried underneath your sleeping bag.
Keep important items protected from rain.
A simple waterproof liner or dry bags can protect clothing, electronics, documents, and sleeping equipment from an unexpected downpour.
Once packed, put the backpack on and walk around with it.
If something feels uncomfortable, fix it now.
Day 2: Take It Easy
Two days before the trek is not the time for a brutal workout.
If you’ve been walking throughout the week, switch to light activity. A relaxed walk and some gentle mobility work are enough.
Your priority now is recovery.
Get plenty of sleep, eat normally, stay hydrated, and avoid doing anything that could leave you sore or injured.
This is also a good day to check your route one more time.
Download offline maps and make sure your phone is fully functional.
Check the weather again.
Confirm transportation and meeting points if you’re trekking with a group.
Make sure someone at home knows where you’re going and when you expect to return.
Day 1: Keep It Simple
The day before your trek should be boring.
And that’s exactly what you want.
Don’t spend the evening reorganizing your entire backpack or trying new equipment.
Charge your phone and power bank.
Fill your water bottles.
Prepare your food.
Lay out your clothes.
Check your shoes.
Put your essential items where you can reach them easily.
Then get some sleep.
Avoid staying up late because you’re excited about the trek. Starting a long day outdoors already tired is an unnecessary disadvantage.
If you’re leaving very early in the morning, prepare as much as possible the night before.
Trek Day: Start Slowly
Your preparation doesn’t end when you reach the trailhead.
One of the biggest mistakes first-time trekkers make is starting too quickly.
The first part of a trek can feel easy because you’re fresh and excited. That often leads people to walk faster than they should.
A few hours later, they pay for it.
Start at a pace that allows you to breathe comfortably and maintain a steady rhythm.
Take short breaks when necessary rather than waiting until you’re completely exhausted.
Drink regularly instead of waiting until you’re extremely thirsty, particularly in hot conditions.
Eat before you’re completely out of energy.
And pay attention to your feet.
If you feel a hot spot developing, stop and deal with it. Five minutes of prevention can save you hours of pain later.
What Not to Do During the Final Week
There are a few things you should avoid.
Don’t suddenly start intense training. You won’t build significant fitness in a few days, but you can certainly make yourself sore or injured.
Don’t test new shoes on the trek. New footwear needs to be worn beforehand.
Don’t completely change your diet. Stick to familiar foods.
Don’t ignore the weather. A beautiful forecast isn’t guaranteed in the mountains.
Don’t overpack. More equipment isn’t automatically better.
Don’t sacrifice sleep. Recovery is part of preparation.
The Most Important Preparation Is Knowing Your Limits
Being prepared doesn’t mean being fearless.